
The first stage is to mark out where you want your new bed to be, we suggest using a hose to mark your desired lines. Adding curves to a garden can add a dash of creativity to an area, consider creating flowing curved beds to be filled with small bushes or trees to bring verticality to a garden.
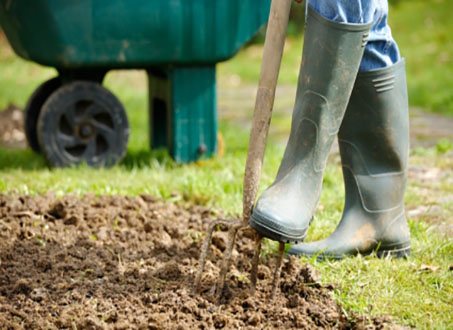
If your desired bed area has turf covering it you will need to remove the turf with a spade or mechanical cutter. When the layer of turf has been removed dig a 6 inch deep, 2 inch wide trench along the outline of the hose that will form the edge of your bed. Be sure to remove any rocks, weeds, roots or existing turf that are in the way.
Level the bottom of the trench with sand to cover over any depressions and make sure that the border wall will be stable and uniform.
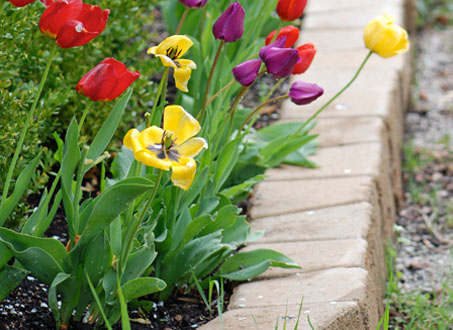
Place edging material in the trench to create the border. There are lots of options on what to use for edging material form terra cotta pots, garden wall blocks, stone, bricks, and plastic edging to iron borders. Iron borders are the easiest to install and don’t require any trench digging beforehand, simply pressing the prongs into the ground will stop lawn growth.
Fill any gaps in your border with soil to make sure the border is compact and sturdy.
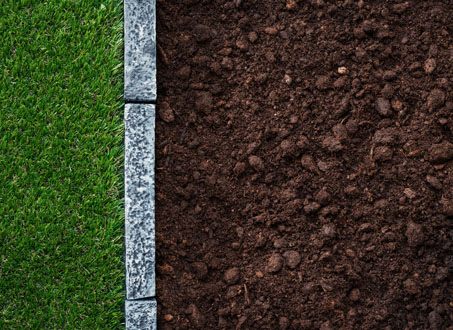
Top up with our SuperSoil for a flower border or our Vegetable & Fruit Topsoil if you wish to grow fruit and vegetables. Once you have chosen what you would like to pant, make sure you check the space and place them in their new positions. It is a good idea to soak the root balls of your plants before planting and back filling.